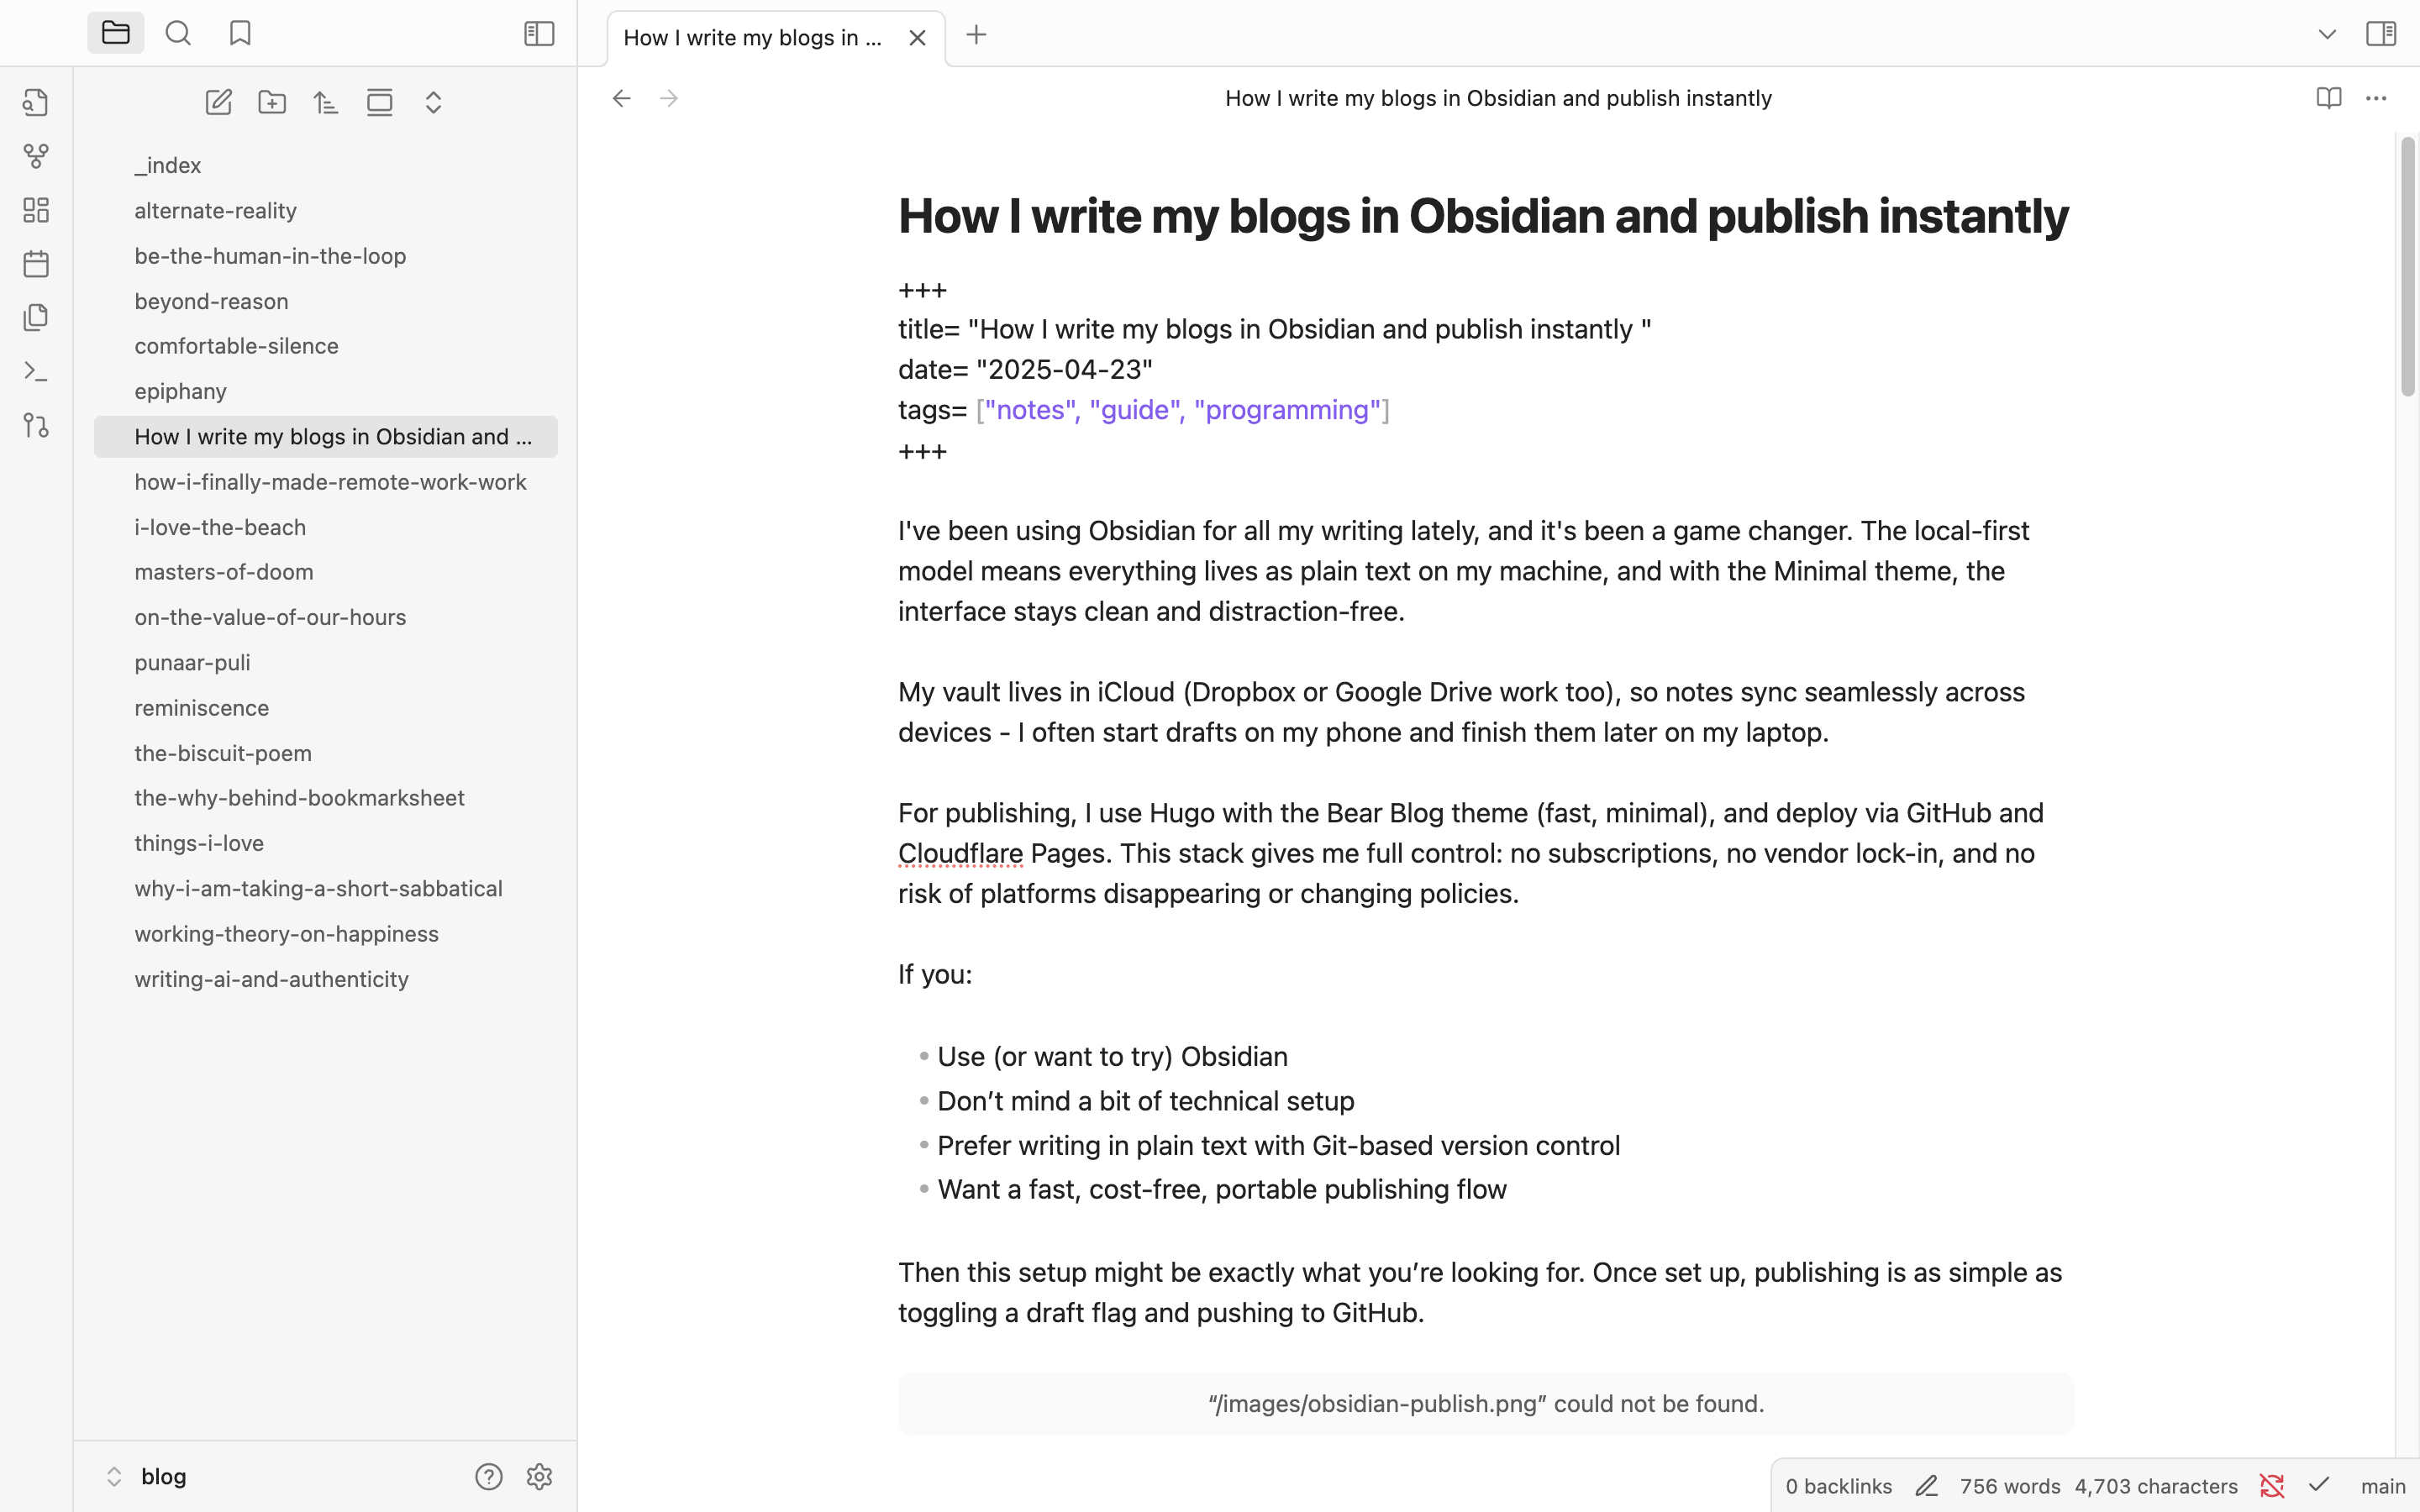
How I write my blogs in Obsidian and publish instantly
I’ve been using Obsidian for all my writing lately, and it’s been a game changer. The local-first model means everything lives as plain text on my machine, and with the Minimal theme, the interface stays clean and distraction-free.
My vault lives in iCloud (Dropbox or Google Drive work too), so notes sync seamlessly across devices - I often start drafts on my phone and finish them later on my laptop.
For publishing, I use Hugo with the Bear Blog theme (fast, minimal), and deploy via GitHub and Cloudflare Pages. This stack gives me full control: no subscriptions, no vendor lock-in, and no risk of platforms disappearing or changing policies.
If you:
- Use (or want to try) Obsidian
- Don’t mind a bit of technical setup
- Prefer writing in plain text with Git-based version control
- Want a fast, cost-free, portable publishing flow
Then this setup might be exactly what you’re looking for. Once set up, publishing is as simple as toggling a draft flag and pushing to GitHub.

Setting Up Your System
This post is a high-level outline of how it all fits together. It’s not a tutorial, but if you’re familiar with basic dev tools, it should be easy to follow. And if anything’s unclear, LLMs like ChatGPT or Claude are great for filling in the gaps.
1. Install and Set Up Hugo
First, you’ll need to install Hugo on your machine. Once installed, create a new site:
hugo new site myblog
cd myblog
Then add the Bear Blog theme (or your preferred theme):
git init
git submodule add https://github.com/janraasch/hugo-bearblog.git themes/hugo-bearblog
Update your config.toml file to use the theme. See the Bear Blog theme documentation for configuration options.
2. Connect Obsidian to Hugo
This is the key part. Hugo has a specific folder structure, and you want to write your posts in the content folder. Inside that folder, I created a blog subfolder for all my posts.
So my folder structure looks like this:
myblog/
  ├── content/
  │   ├── blog/   <- This is where I write my posts
  │   └── ...
  └── ...
To set up Obsidian:
- Open Obsidian
- Click “Open folder as vault”
- Navigate to your Hugo site’s blog folder (myblog/content/blog)
- Select this folder
This way, everything you write in Obsidian goes directly into the right folder for Hugo to process.
3. Set Up Front Matter Template
In Obsidian, make sure that your posts includes the necessary Hugo front matter:
+++
title= "Your Post Title"
date= YYYY-MM-DD
tags= ["post"]
draft= true
+++
The draft: true tag is crucial - this is what you’ll toggle to false when you’re ready to publish.
4. Preview Posts Locally
While writing, I use Hugo’s local server with draft visibility:
hugo server -D
This lets me see how everything looks in-browser before pushing live.
5. Connect to GitHub
Create a new GitHub repository for your blog, then connect your local Hugo site:
git remote add origin https://github.com/yourusername/yourblog.git
git add .
git commit -m "Initial commit"
git push -u origin main
There are plenty of GitHub tutorials if you need help with this step.
6. Set Up Cloudflare Pages
- Sign up for a Cloudflare account if you don’t have one
- Go to the Pages section and create a new project
- Connect to your GitHub account and select your blog repository
- For build settings:
- Build command:
hugo --minify - Build output directory:
public
- Build command:
Cloudflare’s own documentation covers this process well.
The Publishing Workflow
Once everything is set up, publishing is simple:
- Write your post in Obsidian
- When ready to publish, change
draft: truetodraft: falsein the front matter - Commit and push to GitHub:
git add .
git commit -m "Publish new post"
git push
Cloudflare Pages will automatically detect the change and rebuild your site, typically within a minute or two.
Final Thoughts
This setup takes a bit of initial work, but the payoff is enormous. Once it’s all set up, this workflow fades into the background - I just write, commit, and publish. No friction, no fees, and everything stays in my hands. If you’re looking for a lightweight, sustainable way to blog, this might be worth trying.